Your account will have a credit in it Debi the next time you log in to purchase your Inspired 2 kit!
Congratulations!
Now on to our next Technique Thursday
I love overlay borders and create one and use for many uses as a scrapper and as a designer. As a designer, I create papers. As a scrapper, I save it and use it over plain papers to give an added punch when I want it or to use for an album with a paper kit to bring unity.
Start out with a colored background in a new canvas 12x12 300ppi. Use any color you want but a mid range color is best for seeing what you are doing as you go.
Find some grunge edge brushes or some good ink or grunge brushes.
Set your foreground color to black (D).
Start painting around the edge of your canvas. Turn your brush for each side as needed using the compass found in your brushes palette under “brush tip shape”. You can hold the shift key to rotate in 15 degree increments. I also use the Flip X and Flip Y settings too instead of rotating for the different sides. Just faster for me I guess.
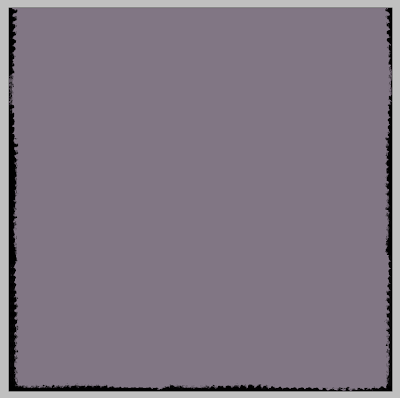
Here’s mine using 1 single grunged edge brush from a scan I made of some inked edged paper on 3 of the 4 sides so far.
Now find some floral or swirl brushes or whatever you like, to use.
Remember, you can size down brushes but you shouldn’t size up as they loose quality and will be pixilated. That’s why freebies are nice, but a high quality brushes will be large so you can size down to where you want.
Create a new layer UNDER your grunged edge layer.
stamp around using black again or slightly lighter if you plan on using layer blending modes or you can use contrasting colors too. Your choice and I would recommend you try both ways to see the different effects.
Keep creating layers beneath each other and making your color lighter or different with each layer. 3 or 4 additional layers is a good start.
Here are the layer phases as I did mine.
With each additional layer, I used a slightly lighter gray brush and just stamped around the edge where it looked good. The reason for creating new layers with each, is you can rotate, delete or change as you go.
I chose to use one single doodle brush and varied the amount over the edge as I went around my border. You could use several brushes and adjust the sizes too. All part of the creative process.

Here's how my layers panel looks now with background color (bottom), grunge border (top), and all the brush work layers by color in between.
When you are all done and happy with the design....
TIP for PSE users: I save it as a working PSD at this point “just in case” I want to come back and add to, change or color the borders later. I usually do. ;)
Merge all your border layers, NOT your background colored layer.
TIP for designers working in CS:
Group all your border layers, NOT your background layer, and duplicate the group.
Turn off one of the groups layer and just save in case you want to edit later.
Save your PSD file at this point.
Merge your other group.
NOW, play with your layer blending modes on your merged borders so you can see how each effects the varied shades of gray to find the one you like. TIP: If you click on the Blending Mode box in your layers panel, then hold Shift+ or Shift- you can cycle through the blending modes. Much faster than picking each one with the pull down menu.
When you have the one you like, texture your background color, add an overlay of creased or textured paper to finish off your paper. Save as a JPG and done.
Designer’s Tip: I also turn off the background layer and save the border as a PNG for use as an overlay later. :)
Here is my final working paper before any texture has been added.
Hope you enjoyed!
This weeks prize is…


Oooh, nice! Great tutorial Ms. Nicky. Love the India Ink stuff coming up!